0.4 – A little different then the usual.
For 0.4 I decided to do something different.
I hate writing test frameworks.
I was chatting with Chris the other day about his “bug”, and he mentioned how he wanted his VisualTimeline plugin to hook the actual video timeline and display its data on that.
The current iteration of his Plugin
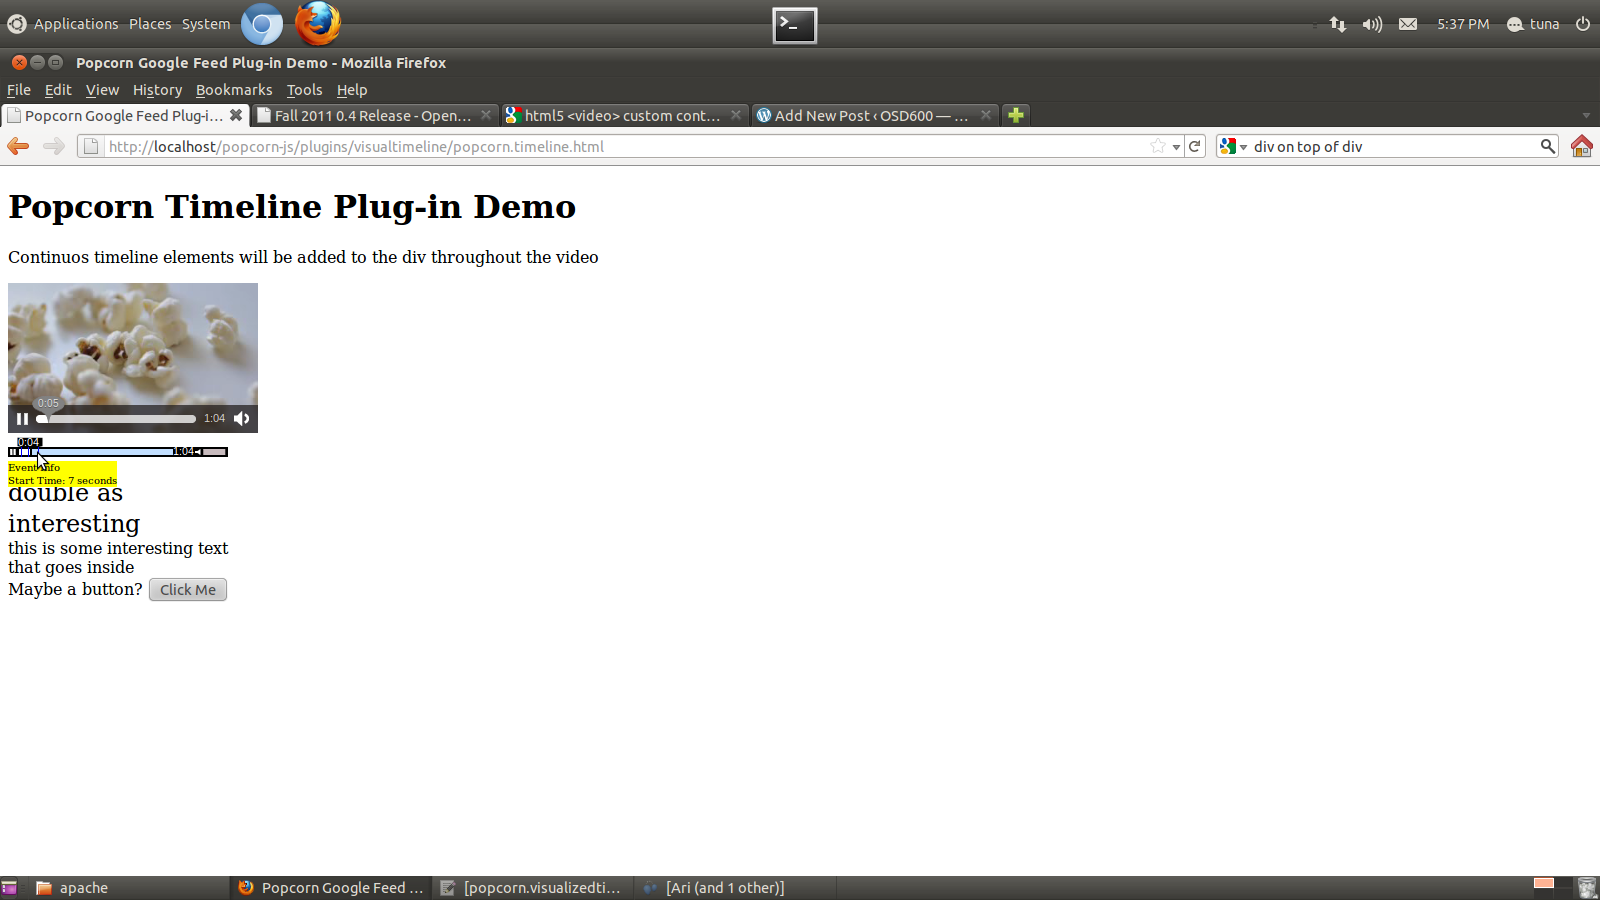
After some research into the HTML5 video element I found out that you actually toggle the control bar with the controls tag.
This tag creates a browser-specific controller that overlays on top of the video.
It would be rather silly in my opinion to hook this – potentially changing the code for every browser.
    <video id="video"
      controls <---------------- This
      width="250px"
      poster="../../test/poster.png">

      <source id="mp4"
        src="../../test/trailer.mp4"
        type='video/mp4; codecs="avc1, mp4a"'>

      <source id="ogv"
        src="../../test/trailer.ogv"
        type='video/ogg; codecs="theora, vorbis"'>

      <p>Your user agent does not support the HTML5 Video element.</p>
    </video>
Chris already created what is essentially an override to the MediaController, bonus is it also conformed to the HTML5 standard.
He is accessing the Media Element (<video> tag) directly to control its flow.
So….
Some Quick
Before:
Your user agent does not support the HTML5 Video element.
<canvas id=”timelineCanvas” height=”20″></canvas> </div>
After:
Your user agent does not support the HTML5 Video element.
</div>
And some declaration modifications:
Before:
  .visualizedtimeline({
    vidTarget: "video",
    start: 0,
    target: "timelineCanvas",
    canvasHeight: "20",
    canvasWidth: "220"
  })
After:
  .visualizedtimeline({
    vidTarget: "video",
    start: 0,
    target: "timelineCanvas"
  })
And some code modifications:
Before:
    //Set canvas parameters
    ctx.width=options.canvasWidth;   -----> used to be fed in (see above)
    ctx.height=options.canvasHeight; -----> used to be fed in (see above)
    barX = ctx.width*0.05;

    //Get media element and save popcorn instance
    myVideo = document.getElementsByTagName(options.vidTarget)[0];
    var popcornInstance = this;

for the mouseovers:
var newdiv = document.createElement('div');
newdiv.id = 'popUp';
newdiv.style.display = 'block';
newdiv.style.position = 'absolute';
newdiv.style.background = 'yellow';
newdiv.style.top = mouseY;
newdiv.style.left = mouseX;
newdiv.style.fontSize = "10px";
newdiv.innerHTML = "Event Info </br> Start Time: " + arrayTrack[i].start + " seconds";
document.body.appendChild(newdiv);
finished=1;
After:
    //Get media element and save popcorn instance
    myVideo = document.getElementsByTagName(options.vidTarget)[0];
    var popcornInstance = this;

    //Set canvas parameters
    ctx.width= myVideo.width;      -----> Scale to Video canvas width
    ctx.height= 20;                -----> Always 20 anyways.
    barX = ctx.width*0.05;

for the mouseovers:
var newdiv = document.createElement('div');
newdiv.id = 'popUp';
newdiv.style.display = 'block';
newdiv.style.position = 'absolute';
newdiv.style.background = 'yellow';
newdiv.style.top = mouseY - 20;    -----> To make up for the bar size and offset.
newdiv.style.left = mouseX;
newdiv.style.fontSize = "10px";
newdiv.innerHTML = "Event Info </br> Start Time: " + arrayTrack[i].start + " seconds";
var vidDiv = document.getElementById('controls');
vidDiv.appendChild(newdiv);        -----> appends to controls <div> (shown above)
finished=1;
Voila our very own custom Media Controller!:
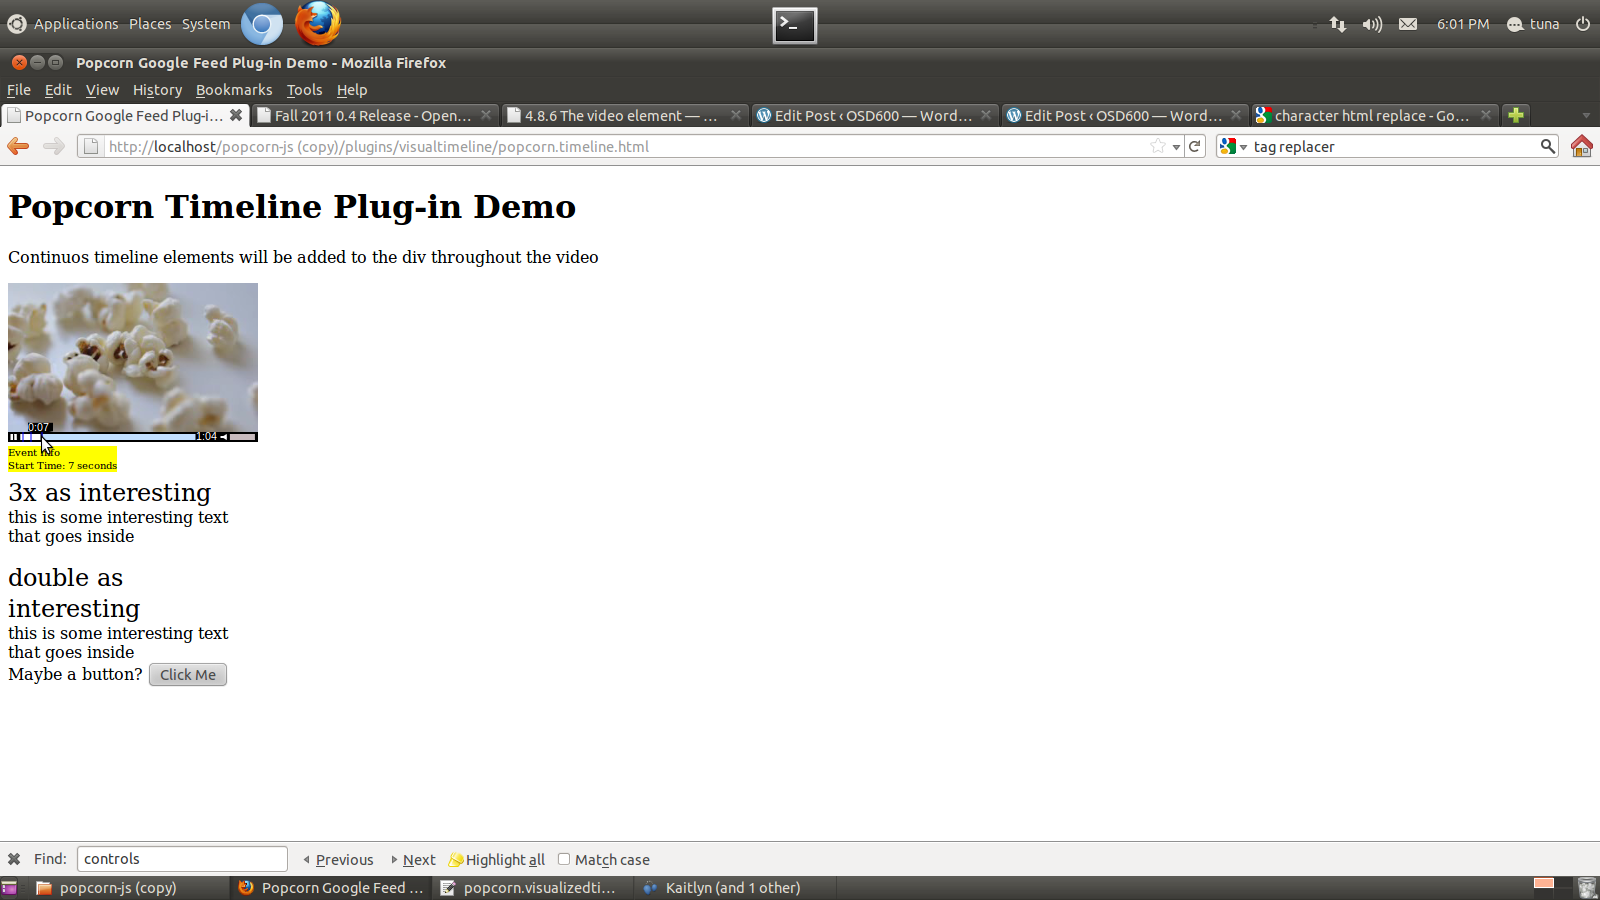
Get it here
